How To Change A Tap Washer
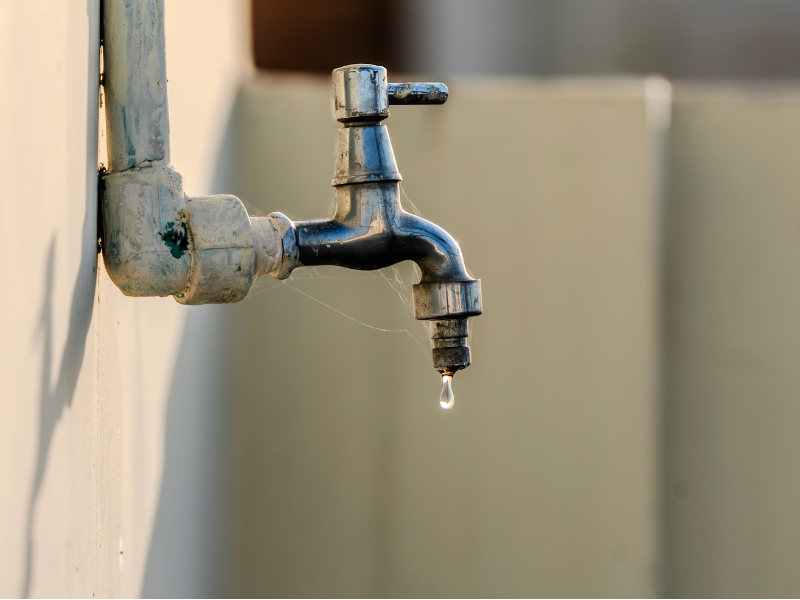
The constant drip-drip-drip sound keeping you awake at night might seem like nothing more than a minor inconvenience. However, over time, that drip can waste a significant amount of water and increase your water and utility bills. In many cases, a leaking tap is caused by a worn-out or damaged tap washer that doesn’t create a proper seal when the tap is turned off.
The good news is that replacing a tap washer is a simple task that you can do at home with a few basic tools you already have lying around your garage.
Our plumbers have put together this simple step-by-step guide to help you quickly change your tap’s washer and get your home’s water flowing properly again.
What is a Tap Washer?
This might seem like a simple question, but many homeowners don’t actually know the answer. A tap washer is a small rubber or silicone component located inside your bathroom or kitchen tap. Its job is to create a watertight seal when you turn off the tap, preventing water from dripping down into your sink.
Each time your tap is turned on or off, this washer experiences pressure and friction and can break, crack and lose its shape over time.
Why is My Tap Dripping?
One of the most common reasons why your tap is dripping after being turned off is a worn-out tap washer. Due to constant everyday use, water pressure and general wear and tear, this washer quickly deteriorates, leading to leakage. As the washer becomes more and more damaged, the less likely it is to create a watertight seal, allowing water to keep flowing from the tap even when it’s turned off. Typically, tap washers last anywhere from 1 - 3 years, depending on usage and quality.
Other common causes of a leaking tap are:
- Corroded internal tap components
- Loose tap parts
- Excessively high or low water pressure
- Faulty cartridges or leaky valves
Common Signs Your Tap Washer Needs To Be Replaced
If you’re experiencing any of the following issues, it’s time to investigate and think about replacing your tap washer:
- Your tap is constantly dripping
- Water is leaking from your tap even when it’s fully turned off
- Higher than usual water bills
- You are having difficulty turning the tap on or off
- Squeaking or grinding noises coming from your tap
- Water is pooling around the base of the tap
Knowing the root cause of the problem and replacing the worn-out washer early can help prevent serious water damage and reduce water waste.
Tools You Need To Change A Tap Washer
Before you start dismantling your entire bathroom or kitchen sink, gather the following tools and materials:
- Flathead Screwdriver
- Phillips Screwdriver
- Crescent Wrench or Adjustable Spanner
- Needle-Nose Pliers
- Adjustable Pliers
- Paper Towel Or Cloth
- Steel Wool
- Replacement Tap Washer
How To Change a Tap Washer in 7 Simple Steps
Step 1: Turn Off The Water Supply
The first step is to find and turn off your water supply. You can find the shut-off valves for your hot and cold water systems underneath your kitchen or bathroom sink. Two bendable supply lines connect to the underside of the sink, with the valves sitting at the lower end of each line. Turn the valves clockwise until they close completely. Alternatively, you can turn off your whole property’s water at the main water supply unit.
Once the water supply has been safely turned off, let the excess pressure and water inside the pipes drain away before starting DIY.
Step 2: Remove The Tap Handle
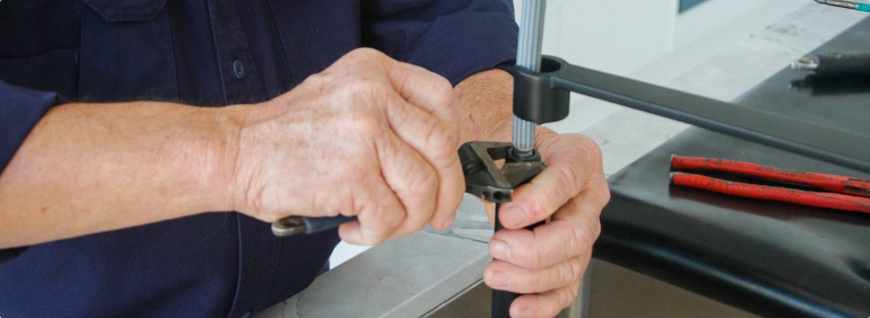
Carefully remove the cap located on the tap’s handle. Underneath, you’ll find a screw securing the tap in place. Using your screwdriver, remove the screw and gently lift the handle away from the body.
Step 3: Unscrew the Tap and Remove the Spindle
Once the tap handle has been removed, you’ll see the brass bonnet underneath. This is a large nut that holds the internal parts of your tap in place. Inside the bonnet sits the spindle, a part that moves up and down when you turn the tap on or off. Before moving forward and removing the nut, it’s important to check the spindle’s position.
If the spindle is fully wound down, the pressure inside can lock it in place, making it hard to turn. Using your pliers, twist the nut anti-clockwise so it sits halfway open to relieve the pressure. Keep turning slowly until the bonnet nut has loosened enough for you to twist it with your fingers.
Once the bonnet is off, lift the spindle straight out of the tap body.
Step 4: Remove The Old Tap Washer
At the base of the spindle, you’ll find the tap washer. Remove the retaining screw and carefully take out the damaged washer.
Step 5: Install The New Tap Washer
Make sure you choose the right tap washer for your tap. Before installing your new washer, take the time to clean the bottom of the jumper valve, making sure it’s free from limescale and other debris that could impact the efficiency of your new washer. Once clean, place the new washer on the jumper valve and secure it using the retaining screw.
Step 6: Reassemble the Tap
Once complete, reassemble your tap. Tighten all components, but try to avoid over-tightening as that can damage your new washer and other internal components or your tap.
Step 7: Turn the Water Back on and Test
Turn the water supply back on and slowly turn on your tap. Check for any leaks, especially around the base and make sure your tap operates smoothly. If the dripping has stopped, congratulations, your DIY has worked!
What if Replacing the Washer Doesn’t Fix The Leak?
If your tap keeps dripping despite you replacing the washer, the problem might be caused by a different component, such as a corroded internal part, excessive water pressure or damaged tap seating.
If your tap is still leaking and you don’t know what to do next, our team of experienced plumbers can quickly diagnose and get to the root cause of the problem and provide you with a long-term, leak-free solution.
From everything to simple tap washer replacements to emergency burst pipes and bathroom repairs, Bayside Plumbing are available 24 hours a day, 7 days a week.
For a free quote, contact our friendly and professional team on 0411 724 011 or complete our online enquiry form today.
For more informative how-to’s check out our blogs on how to repair your leaky shower , or how how to fix a leaky tap!